Typography - project 1

TYPOGRAPHY - PROJECT 1
1/5/2018 - 15/5/2018 week 6 - week 8
Ng Shu Zhi (0327158)
Typography - Project 1 - The Babadook Book
LECTURES
Lecture 7: We were taught about Kerning and Letter spacing. Letter spacing is the counter-form space of each letter. Kerning is when we adjust the space of the letter spacing. Spacing is to increase the spacing between each word. I also learned the space between each sentence is called legging space and, space between each paragraph is paragraph space.
Lecture 8: We ventured more into Kerning and Letter spacing, this time learning how to organise and give hierarchy to Titles, sub titles
INSTRUCTIONS
We were to design a children's horror story book called the Babadook using InDesign. We are to express 4 sentences in the whole book in 14 pt with 18 pt legging. The book is to be 200mm x 200mm in size.
PROJECT WORK
First attempt at the book

fig 1.1

fig 1.2

fig 1.3

fig 1.4
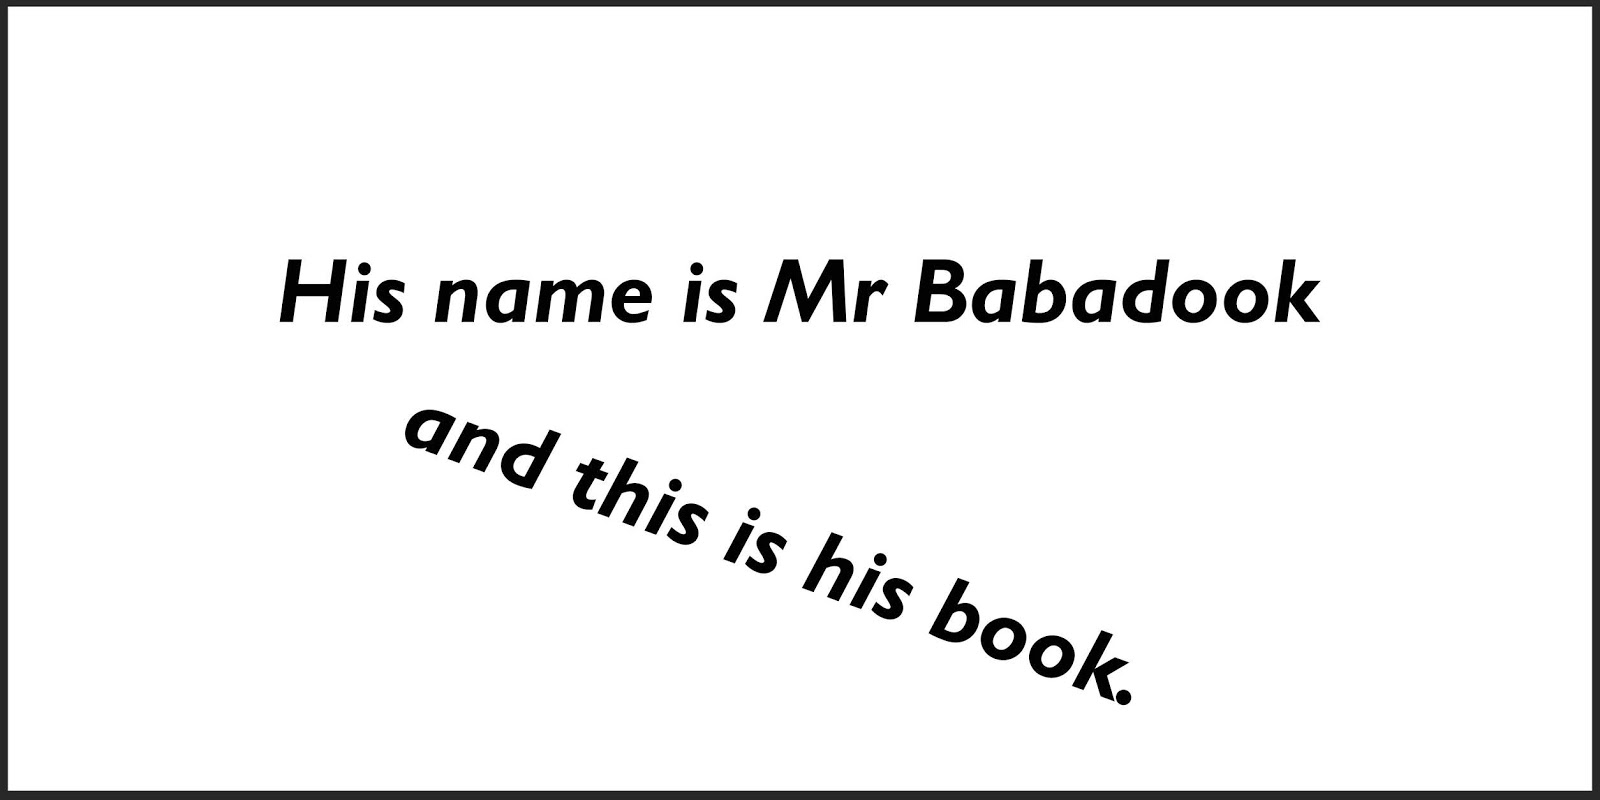
fig 1.5

fig 1.6

fig 1.7

fig 1.8

fig 1.9

fig 1.10

fig 1.11

fig 1.12

fig 1.13
First attempt on the Babadook book.
Second attempt after feedback was given

fig 1.14 The Coverpage of the book

fig 1.15pg 1 - 2
I wanted something more understandable and chill to catch people off guard for what's about to happen next while they read through the book.
I wanted something more understandable and chill to catch people off guard for what's about to happen next while they read through the book.

fig 1.16 pg 3 - 4
I wanted to make the story more and more eerie and scary with different orientations and rotations to make one confused and scared like horror games where you expect nothing but a lot gets thrown at you all in one go.
I wanted to make the story more and more eerie and scary with different orientations and rotations to make one confused and scared like horror games where you expect nothing but a lot gets thrown at you all in one go.

fig 1.17 pg 5 - 6
I wanted to have a contrast from the last page in terms of sizing, placement and organisation. Here it can be seen I placed the word "Dead" all on its own to create an eerie feeling of coldness, quietness and loneliness which would be all of us when we die on our own coffins and are buried into the ground, alone and cold.
I don't have a problem, I swear

fig 1.18 pg 7 The last page of the book I wanted everything to squeeze in and have the size of the text to be very noticable like it is screaming for you to let it in.
fig 1.19 PDF file of the book

fig1.20 thumbnails of the pages in the book.
FEEDBACK
Week 7: My animation for both my name portraying bubbly and the word animation were accepted. As for the book assignment, I would have simplify things more.
Week 8: Mr Vinod told me I was able to have an alignment where it was consistent enough to understand flow of the book but I was to adjust the placement of some of the texts.
Week 9: the beginning with the gradient from white to gray to black was visually pleasing to look at. Later into the book it started becoming repetitive with the expression always on the right side of the book. I should allign the front page's 2 sides General Feedback: We had to train ourselves to be very critical with our work to be able to check for the similarities between each word in our text.
REFLECTION
Experience:
Week 7: It was a very stressful class as I didn't have the program needed for this assignment and spent 2 hours looking for a way to download it, even when the building we were in, blocked any downloads from Adobe.
Week 8: It was interesting to be able to play around with alignment and get a better understanding of alignment and placement through an example from Mr Vinod where he showed us the continuity between each page. Also the alignment for the pages of a book should be similar to each other but still have some variety to make it interesting.
Observations:
Week 7: I started noticing something felt very wrong about continuing to do my work the way it is, the examples the teachers gave and past students' works were starting to get very confusing.
Week 8: Using the gridlines are very helpful to get an aesthetically pleasing visual to the page and aligning texts with the one before is very helpful to get a visually pleasing alignment with good continuity.
Findings:
Week 7: My expression was becoming too much expression and it had to be cut down to just a few words within the entire book.
Week 8: It is best to begin designing from something simple first so it can be developed further into something else. Placement is also very important in designing and using the grid-lines is very helpful in finding a placement which is very aesthetically pleasing.
Week 9: I have to learn how to train my eyes to be able to see even the smallest of details in typography, especially if I'm choosing a san serif font with the intention of having the font letters be symmetrical. I think the best way to be able to get a consistent stroke width is by using the pen or line tool to create a stroke and change the line width later one to have consistent lettering.
FURTHER READING
WEEK 7

fig 6.1 Texts on Type, Critical writings on Typography
In this book I learned about that humans always needed a sense of system and order to everything they do, especially design. It governs the growth and structure of all matter, humans always needed to go on the quest for order. So we use gridlines while designing.
Gridlines:
- A suitable grid in visual design make it easier to design and read.
- It is to construct texts systematically and logically
- Structured to be intelligeble and structured with a high degree of tension
- Arrange text into compact arrangement with its own rythym.
WEEK 8

fig 6.2 Stop Stealing Sheep & find out how type works
There are different kinds of styles used in different kinds of industries, in this book I read up more about the advertising industry's design to the fonts they use, the usage and organisation to get their message through better.
Advertisements:
- No lengthy tradition: keeps everything short and sweet for people to read and understand quick.
- Headline on top, attention grabbing picture underneath, subhead, main copy, logo and more elements which should never exceed 8 elements.
- Serious typography : Classic, Well - tried typeface like Futura.

fig 6.3 example of an advertisement snippet
Magazines:
It is hard to grab the attention of people to read lengthy texts these days so the placement and type of alignment is very important.
It is hard to grab the attention of people to read lengthy texts these days so the placement and type of alignment is very important.
- Best to try and combine alignments and different kind of typography.
- Example uses a traditional alignment but with modern typography.

fig 6.4 example of a magazine snippet


Comments
Post a Comment